
🌱 Let's Connect: Reclaim Your Relationship with Food
Growing microgreens is a peaceful, grounding way to connect with the simple joy of food. But for many, navigating eating, nourishment, and body image can feel overwhelming or exhausting—especially if you have spent years stuck in the draining cycle of chronic dieting or are navigating an eating disorder.
You deserve a safe, compassionate space to heal your relationship with food and your body.
In my practice, I provide specialized, non-diet, and weight-inclusive support for individuals of all ages. Together, we focus on reclaiming peace with food, respecting your body's innate wisdom, and breaking free from rigid food rules.
I offer both flexible virtual sessions and comfortable in-person sessions right here in Chelmsford, MA
. I also accept health insurance, and most of my clients pay $0 out of pocket for their care.
Ready to explore what supportive, weight-inclusive care looks like?
Click below to schedule your free 15-minute discovery call today. There is zero pressure—just an open, gentle space to chat about your unique journey and see how we can work together toward true food freedom.
👉 [Book Your Free 15-Minute Discovery Call]
How to Grow Your Organic Radish Microgreens
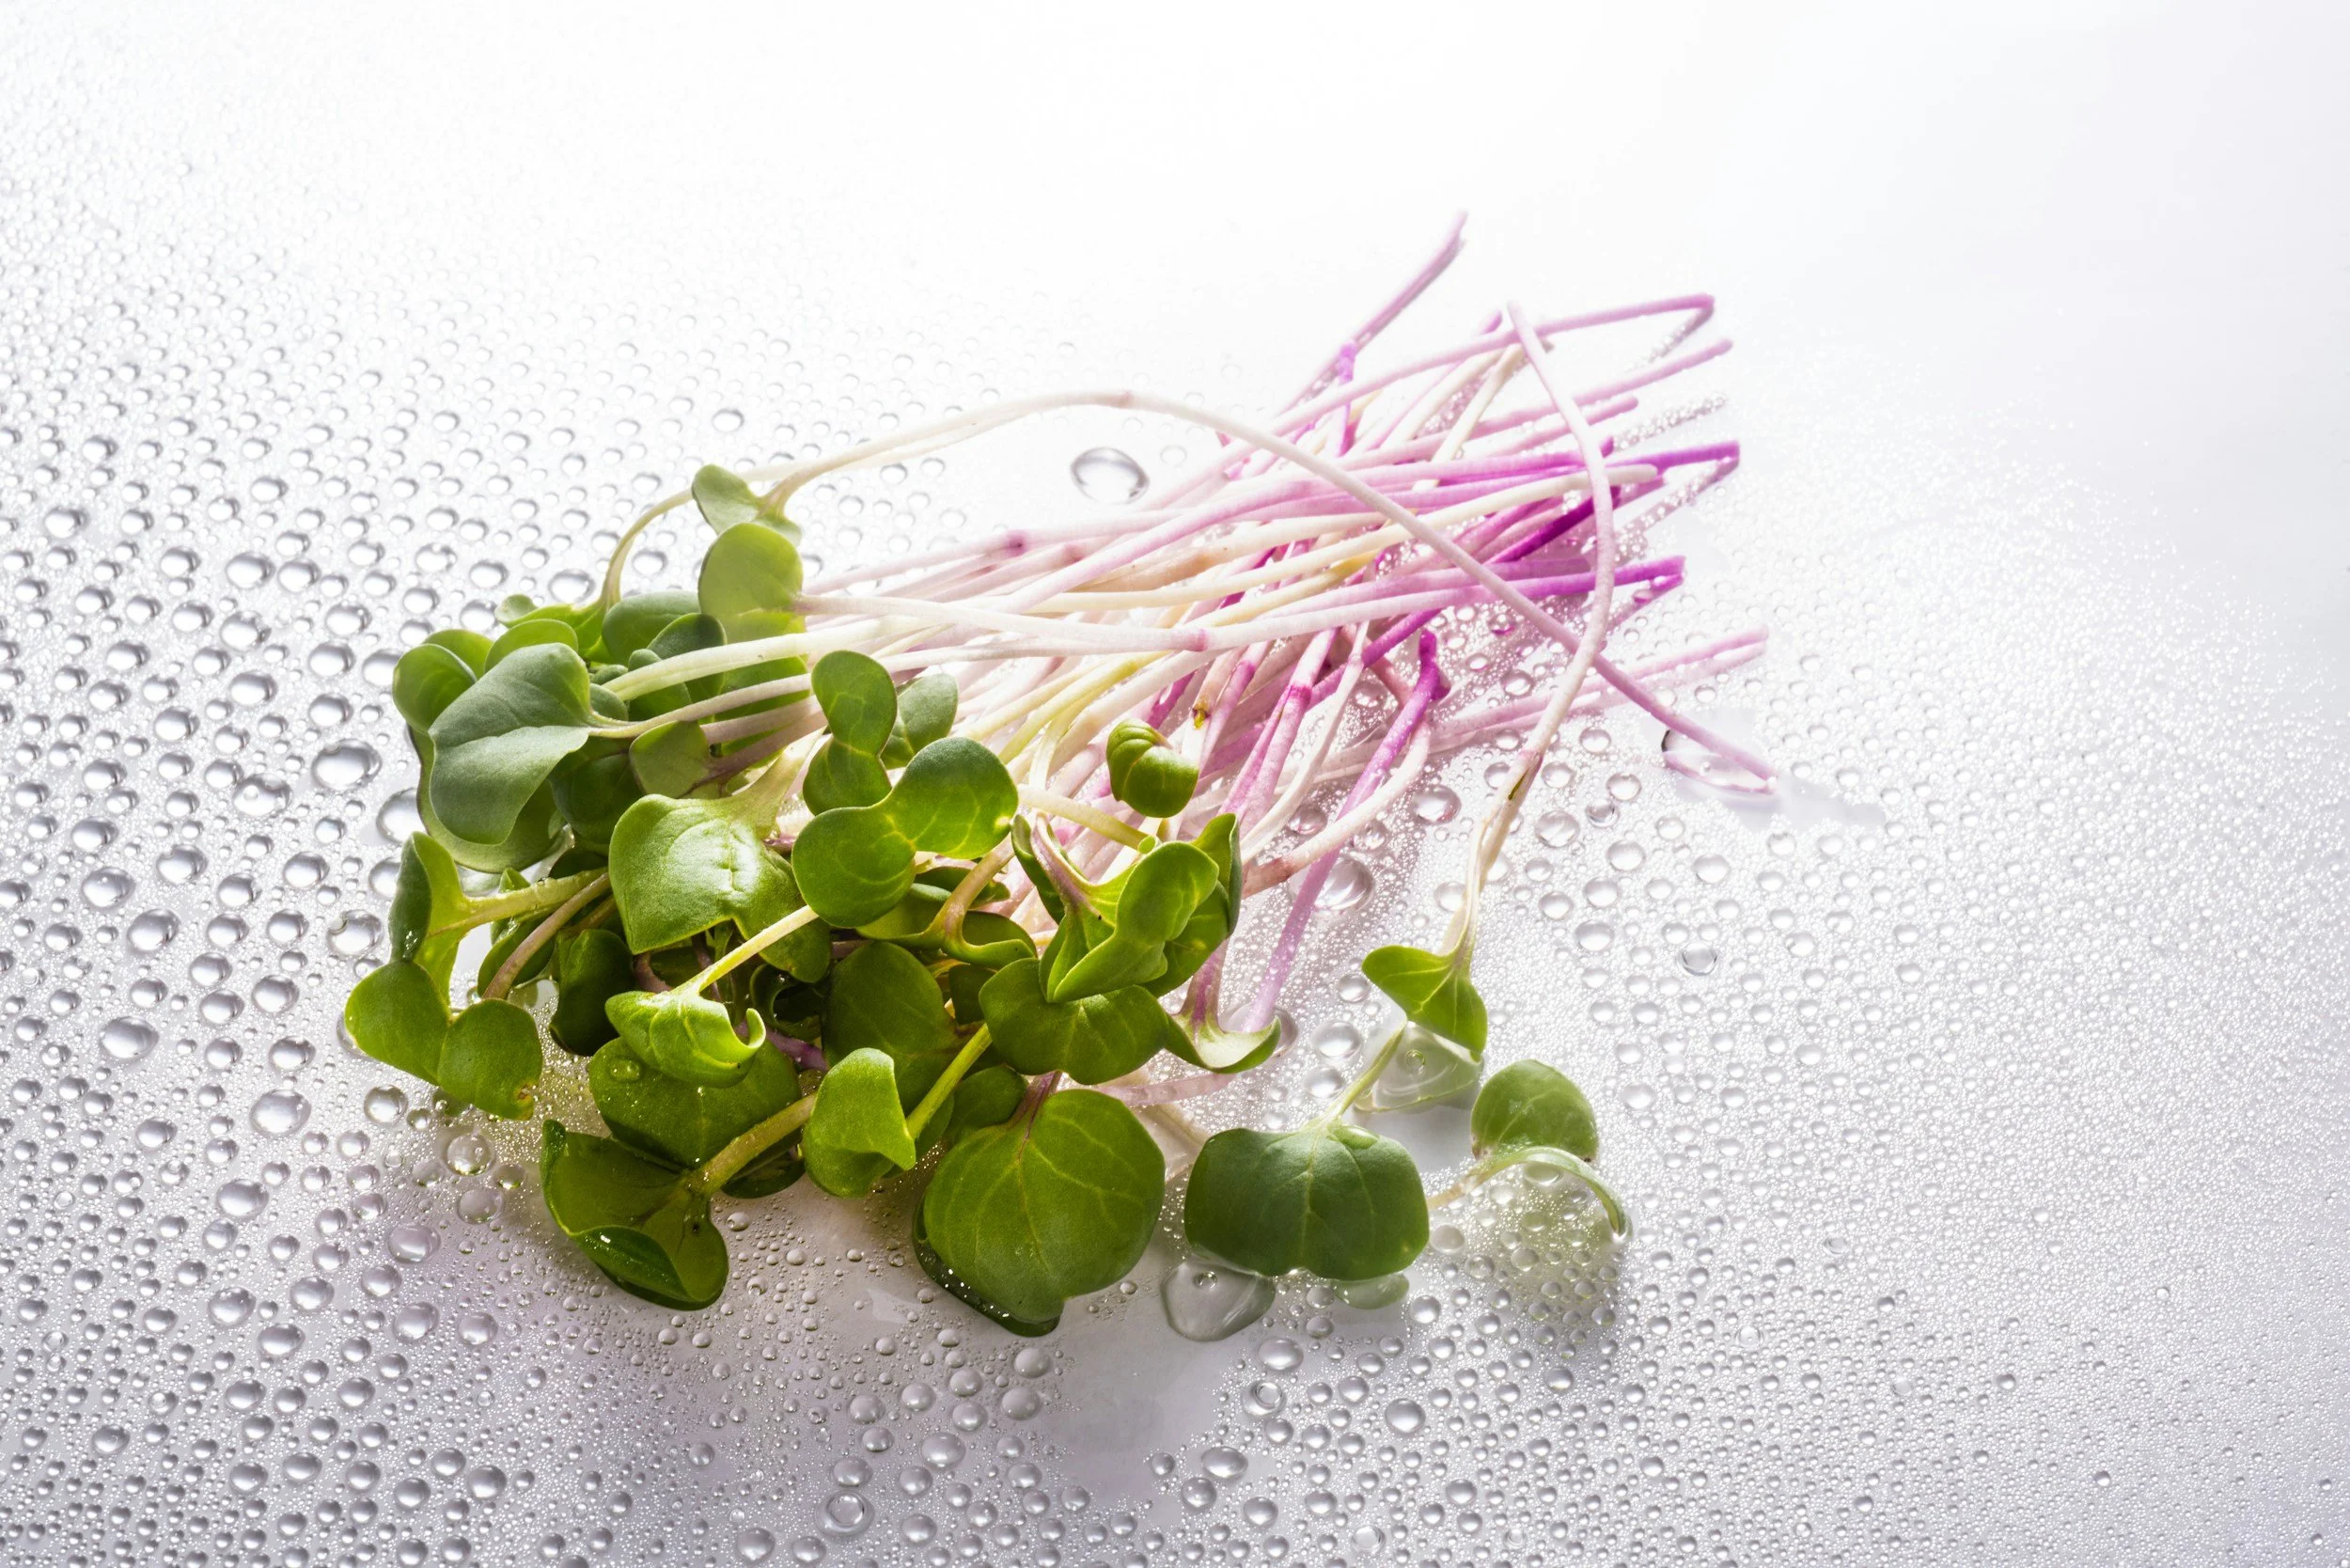
Welcome to your mini-garden! In just 7 to 10 days, your kit will transform into a crisp, nutrient-dense carpet of fresh radish microgreens. They bring a delicious, peppery crunch to salads, sandwiches, tacos, and bowls.
Follow these simple steps to get growing.
🛠️ What You Need from Home
Before you begin, gather a few everyday household items:
Water: About 1/3 cup of warm or lukewarm water.
A Saucer: A small plate, coaster, or saucer to place under your peat pot to catch any extra moisture.
A Cover: A small piece of cardboard, a small cup, or a saucer to block out light for the first few days.
🌿 Step-by-Step Growing Instructions
Step 1: Hydrate the Soil
Place your dry coco coir soil disc directly into the bottom of your peat pot. Slowly pour 1/3 cup of warm water right onto the disc. Wait 2 to 3 minutes, the disc will magically expand into a loose, fluffy bed of rich planting medium.
Step 2: Plant Your Seeds
Use your finger or a fork to gently smooth the top of the soil flat. Open your seed packet and sprinkle all the radish seeds evenly across the surface. Gently press the seeds down with your fingertip so they make good contact with the damp soil. Do not bury the seeds under the soil.
Step 3: The Blackout Phase (Days 1–3)
Radish seeds germinate best in total darkness. Place your cover over the top of the pot to block out all light. Put the pot in a dark spot (like a pantry or cupboard) for 2 to 3 days.
Tip: Check the pot once a day. The soil should stay damp. If it feels dry to the touch, mist it lightly with a spray bottle.
Step 4: Move into the Light (Around Day 3)
When you lift the cover and see pale yellow sprouts pushing upward (about 1/2 inch to 1 inch tall), it is time for sunshine! Remove the cover completely and place your pot on a bright, sunny windowsill or under a grow light. Within just a few hours of hitting the light, the sprouts will turn a beautiful, vibrant green.
Step 5: Water from the Bottom
To avoid crushing the delicate seedlings, do not pour water over the top. Instead, pour a small splash of water directly onto the saucer beneath the peat pot. The biodegradable pot will naturally wick the moisture upward to the roots as the plants need it. Keep the soil damp but not swimming in water.
Step 6: Harvest and Enjoy! (Days 7–10)
When your microgreens are 2 to 3 inches tall and have fully opened their heart-shaped leaves, they are ready to eat! Use clean kitchen scissors to snip the stems just above the soil line. Rinse gently in cold water and enjoy immediately!
